Step-by-Step Guide: How to Install Windows 10 & Windows 11
Installing Windows 11 or Windows 10 from scratch can be a daunting task, especially if you are new to it. However, with the right guidance, you can easily install these operating systems on various devices, including desktops, laptops, and tablets. This guide will walk you through the process step-by-step, ensuring a smooth installation experience.
Requirements
Before you start, ensure you have the following:
- A valid Windows 10 or Windows 11 license key.
- A USB flash drive with at least 8 GB of storage.
- A stable internet connection.
- Backup of your important data.
Creating a Bootable USB Drive
To create a bootable USB drive, we'll use a tool called Rufus, which is simple and reliable.
1. Download the Windows ISO File:
- For Windows 10: Download Here
- For Windows 11: Download Here
2. Download and Install Rufus:
- Go to the Rufus Website and download the latest version.
- Install and run Rufus.
- Or you can extract the ISO file on the Pen drive using winRAR or decompressor.
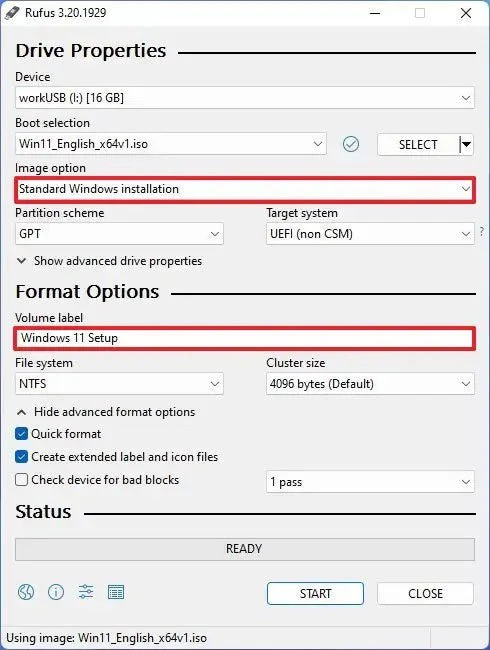
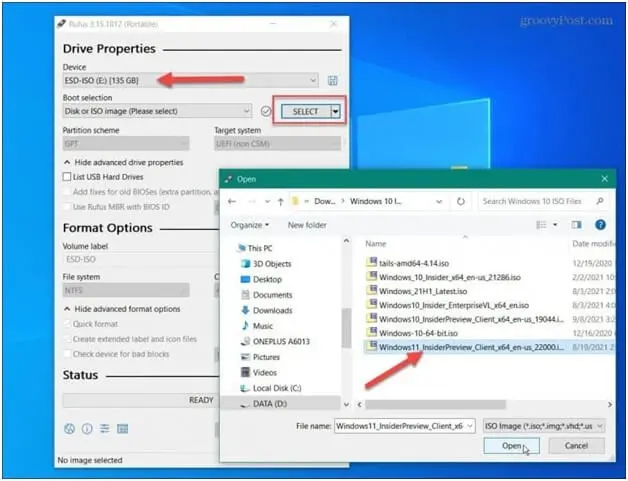
3. Create the Bootable USB Drive:
- Insert the USB Flash Drive: Insert your USB flash drive into your computer.
- Select the USB Drive: Open Rufus and select your USB drive from the "Device" dropdown.
- Select the ISO File: Click the "SELECT" button and choose the Windows ISO file you downloaded.
- Partition Scheme and Target System: Ensure "Partition scheme" is set to "GPT" and "Target system" is set to "UEFI (non CSM)" for modern systems. For older systems, use "MBR" and "BIOS or UEFI".
- Start the Process: Click "START" to begin creating the bootable USB drive. Rufus will warn you that all data on the USB drive will be erased. Click "OK" to proceed.
- Wait for Completion: Rufus will take a few minutes to create the bootable USB drive. Once done, you will see a "READY" message.
Preparing Your Device for Installation
1. Backup Your Data:
- Ensure you have backed up all important data from your device.
2. Access BIOS/UEFI Settings:
- Restart your device and enter the BIOS/UEFI settings (usually by pressing a key like F2 or F8 during startup).
3. Change Boot Order:
- Set the USB drive as the primary boot device.
- Save changes and exit the BIOS/UEFI settings.
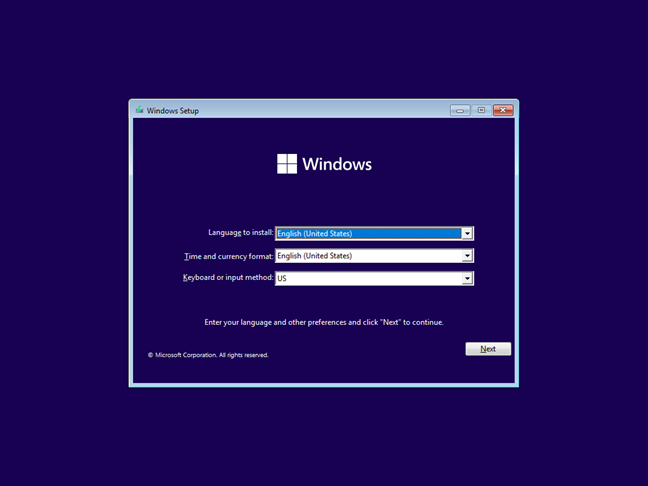

Installing Windows 11 or Windows 10
1. Boot from USB Drive:
- Insert the bootable USB drive or DVD into your device.
- Press the F8 or F2 Key multiple times while the computer starts to call the Boot Manager menu.
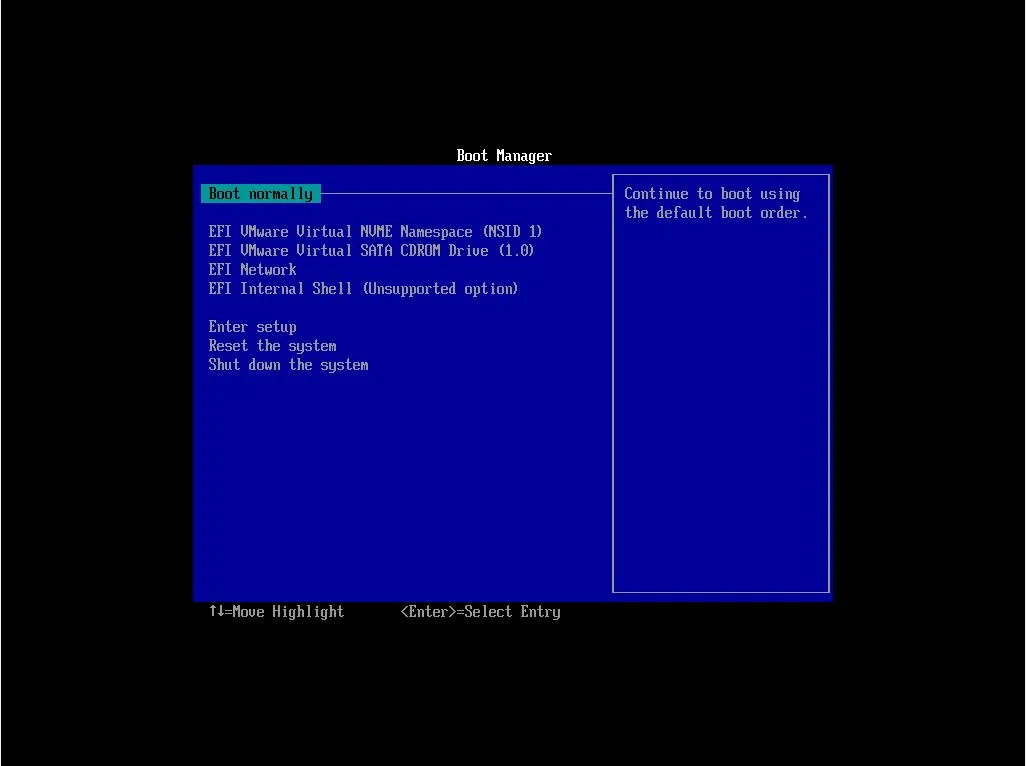
- Use the arrow keys to select the drive containing the Windows installer. Some drives may appear twice; choose the version labeled EFI or UEFI for the best installation experience.
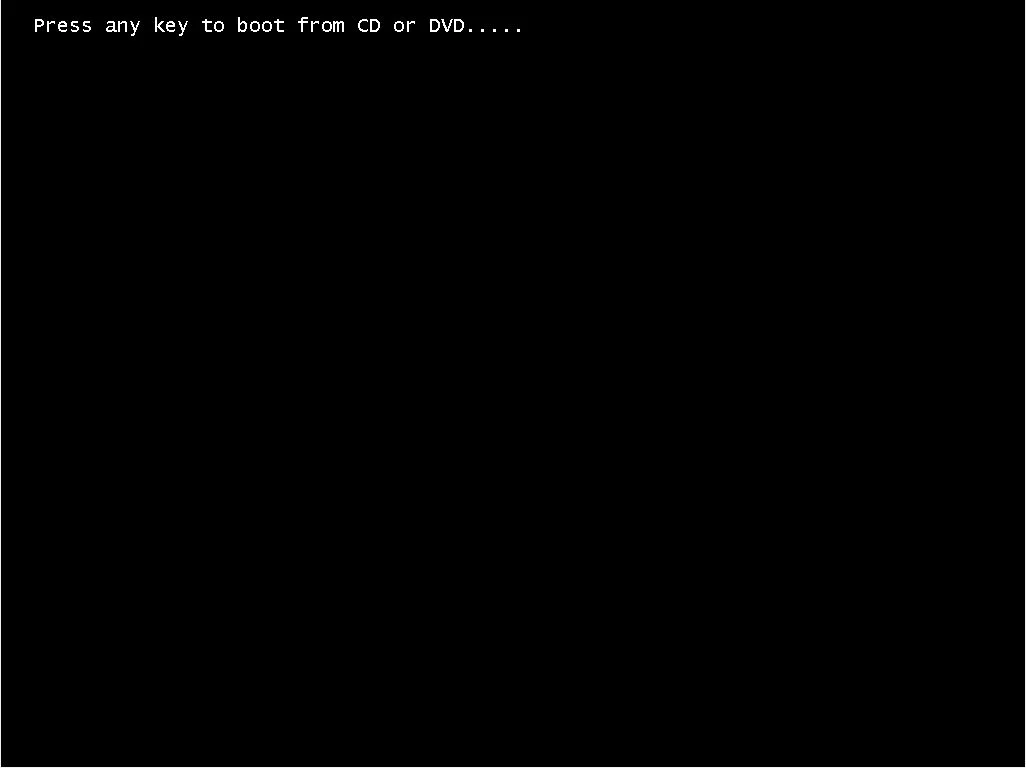
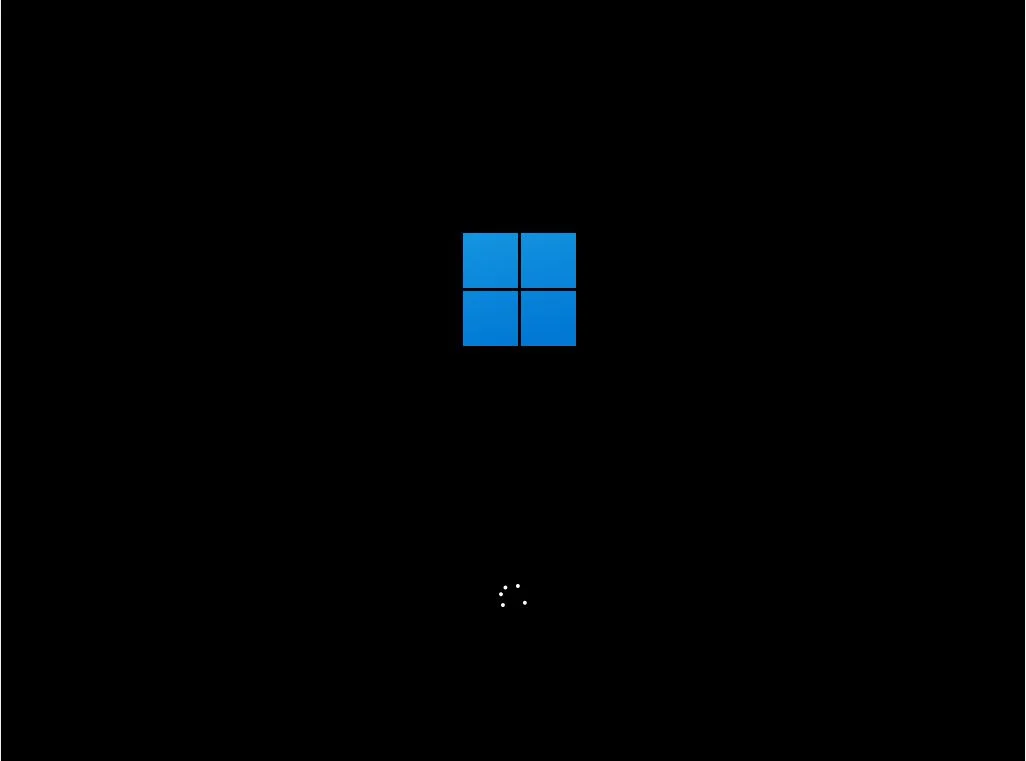
- When prompted, press any key to boot from the USB drive. This will start the Windows installation process, and you will see the new Windows logo.
2. Windows Setup:
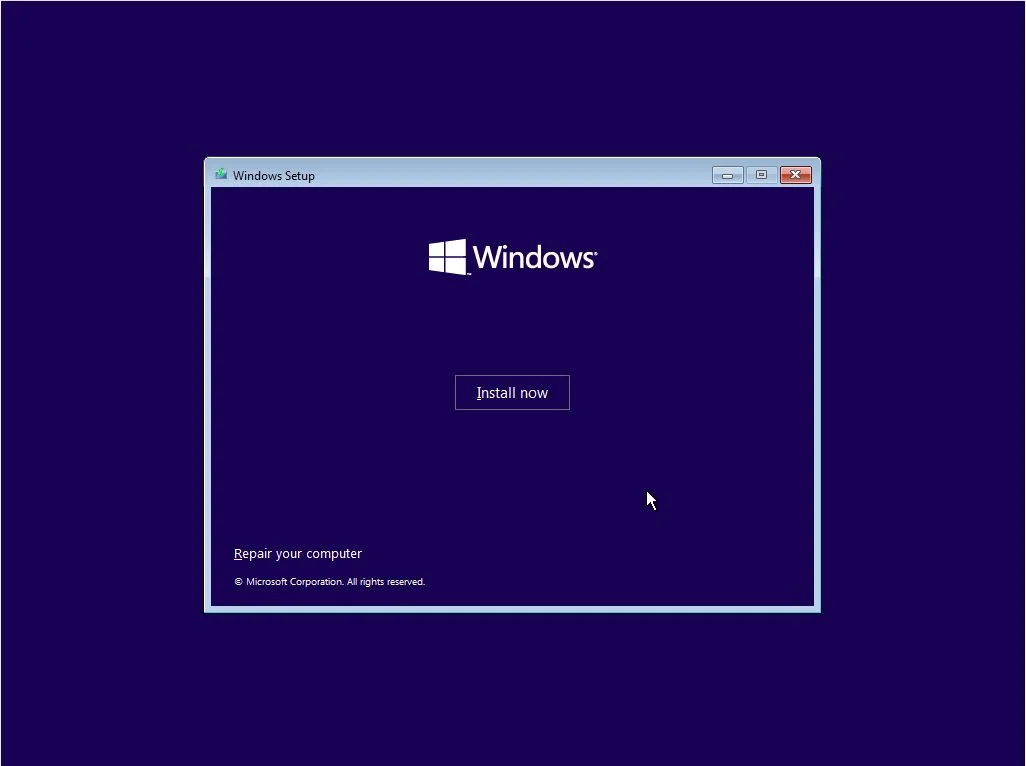
- Click "Install Now".
- Select your language, time, and keyboard preferences. Click "Next".

3. Enter Product Key:
- Enter your Windows license key and click "Next".
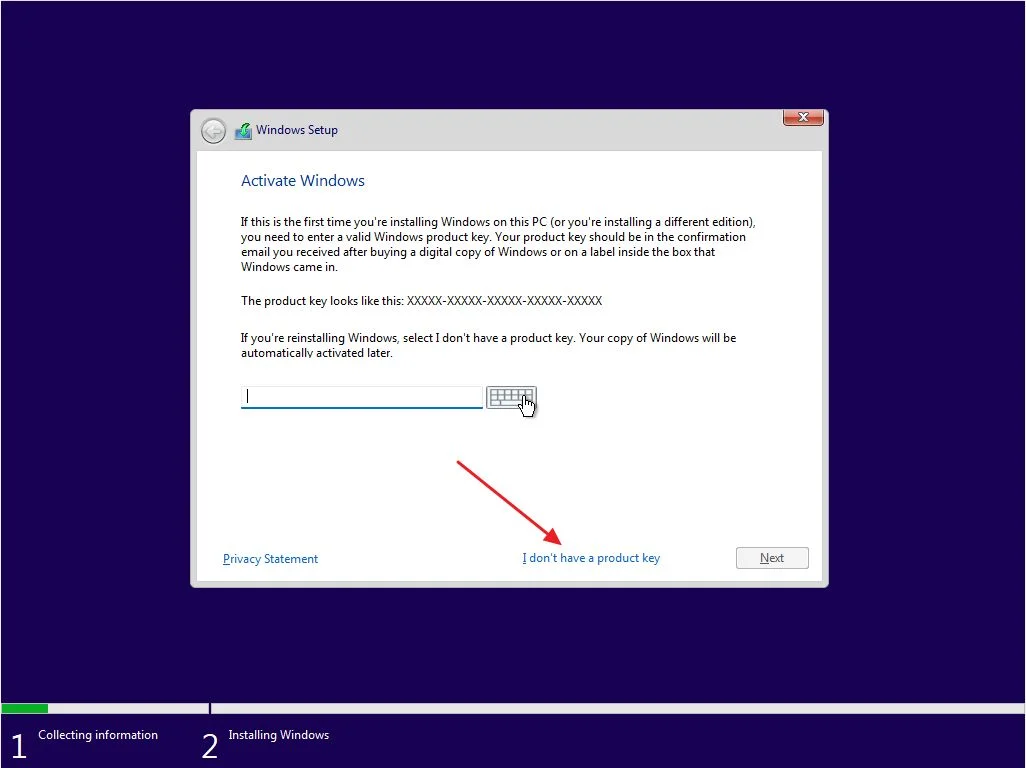
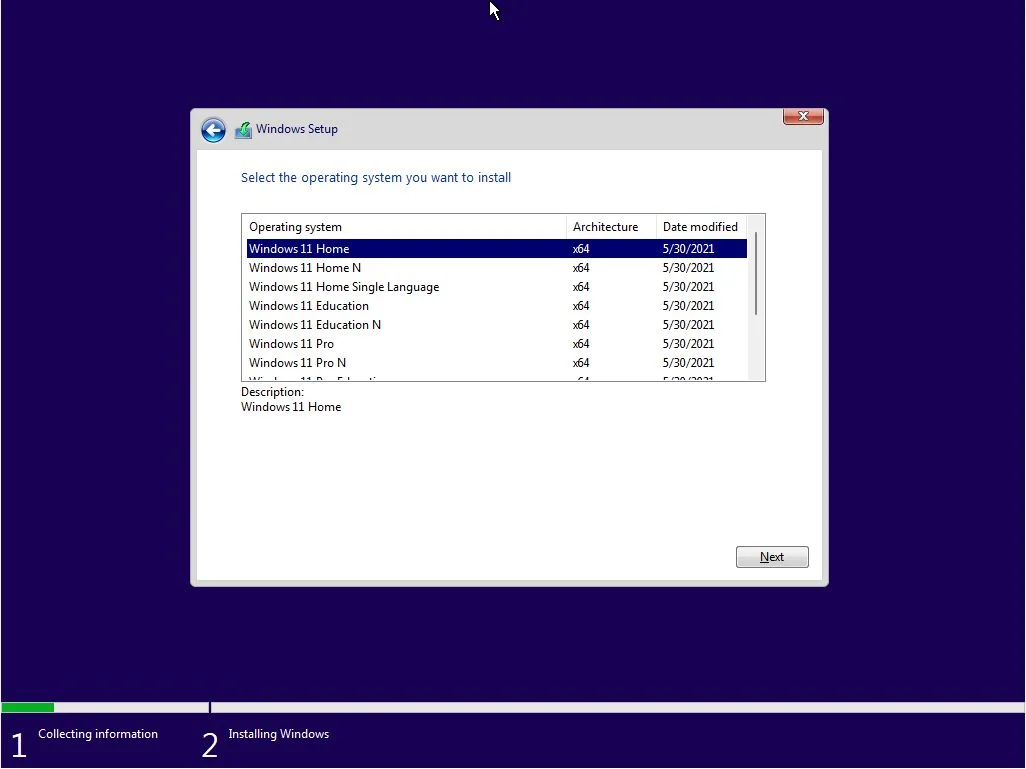
- If prompted, choose the edition of Windows that matches your license key.
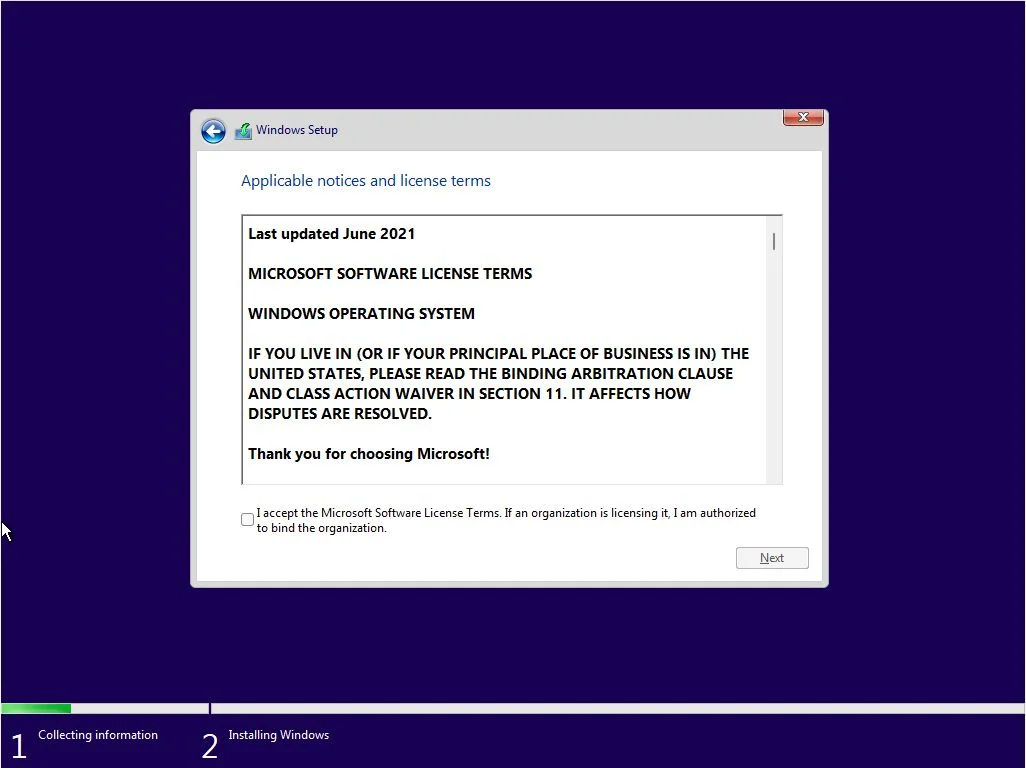
4. Accept License Terms:
- In order to continue, you must accept the End-User License Agreement (EULA). Please review the terms, accept it and click "Next" to proceed.
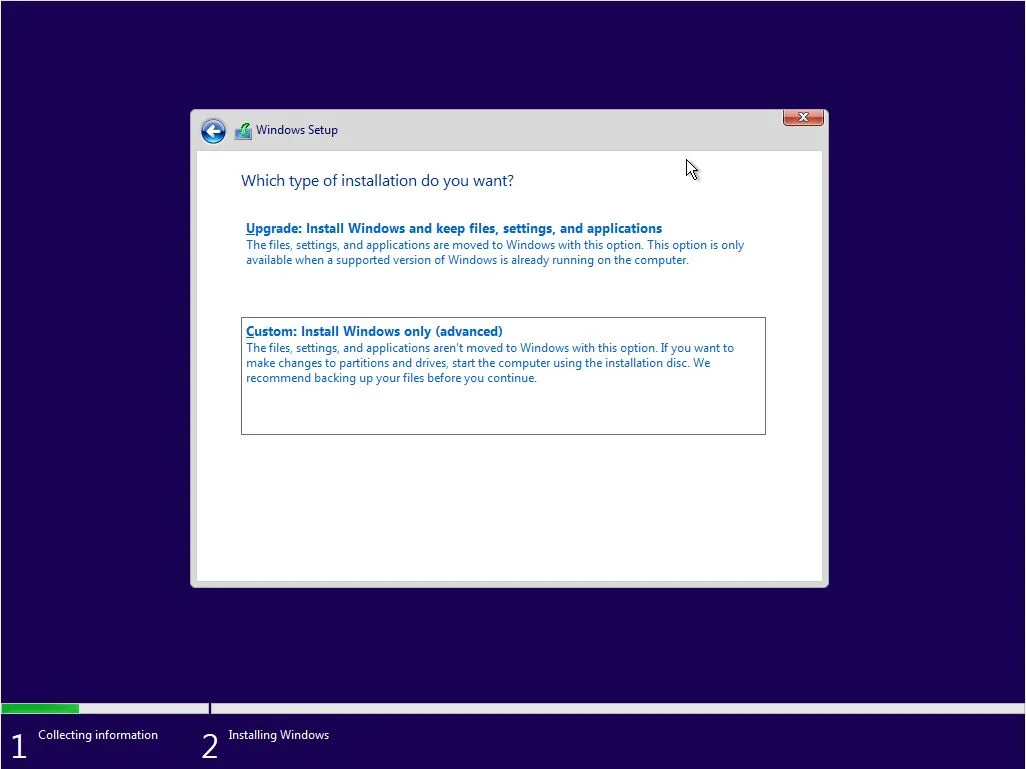
5. Custom Installation:
- Choosing Your Windows Installation Path: Upgrade or Custom?
- If you have Windows 7, 8, or 10 already: It's best to ignore the "Upgrade" option for now. Since its functionality might be limited, select "Custom" to perform a clean install of Windows.
- If you're installing Windows on a brand new drive or a computer without a previous operating system: Choose "Custom" to proceed with a fresh installation.
- Choose "Custom: Install Windows only (advanced)".
6. Partition the Hard Drive:
- Select the partition where you want to install Windows. If you're reinstalling, you can delete existing partitions and create a new one.
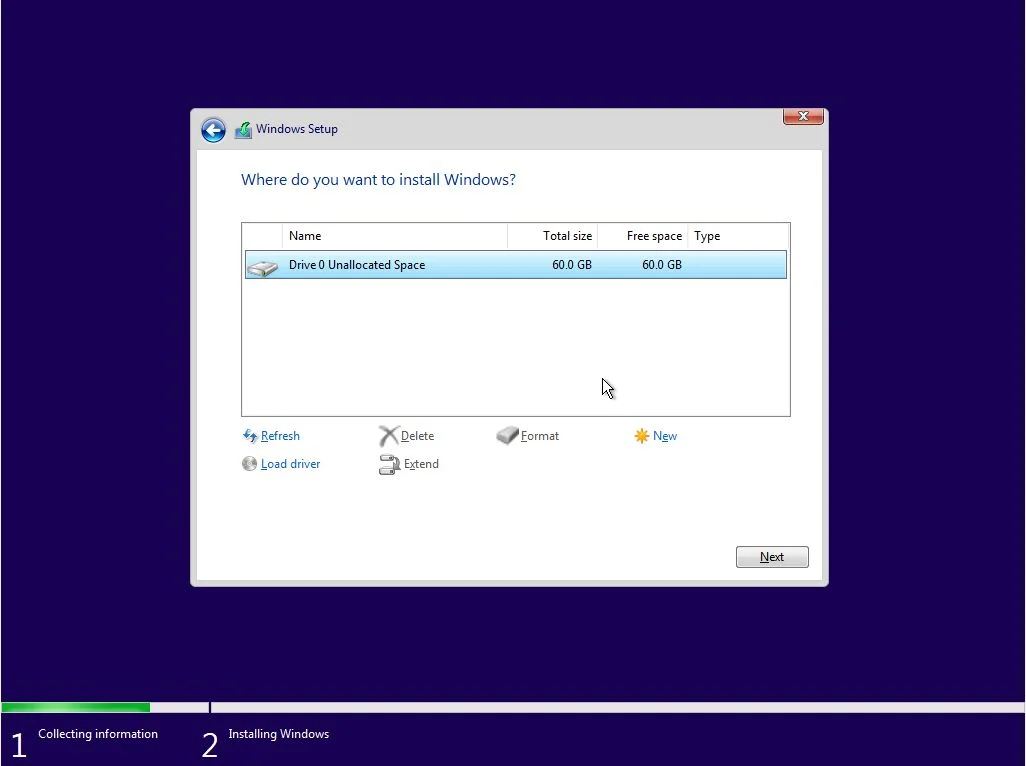
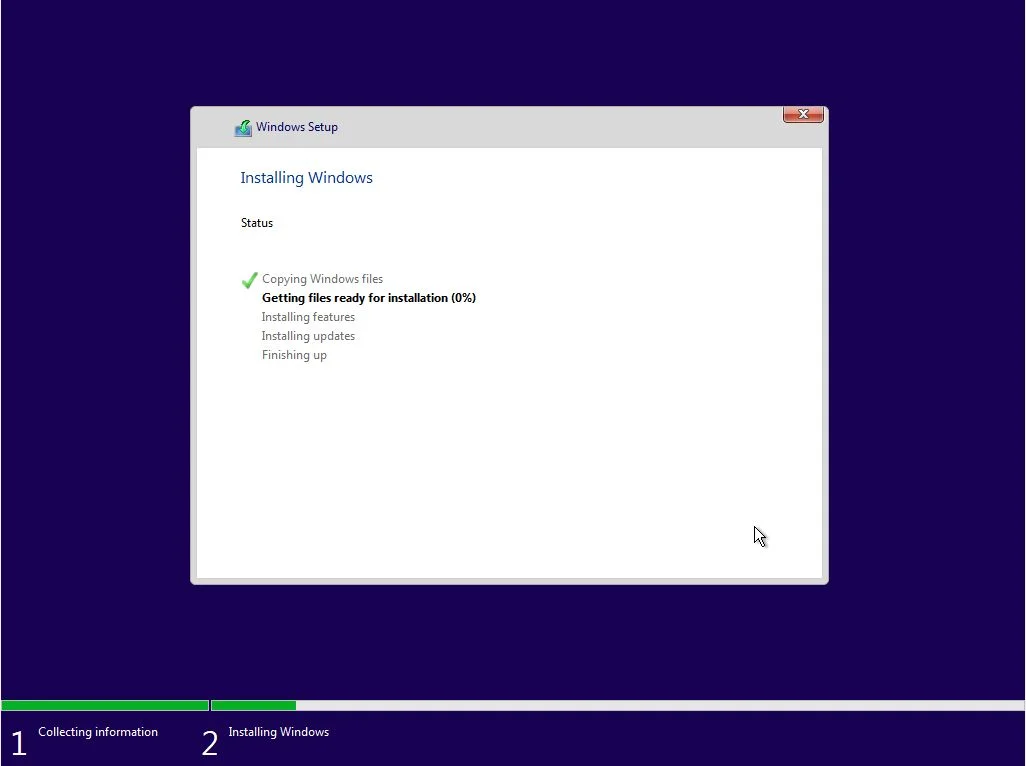
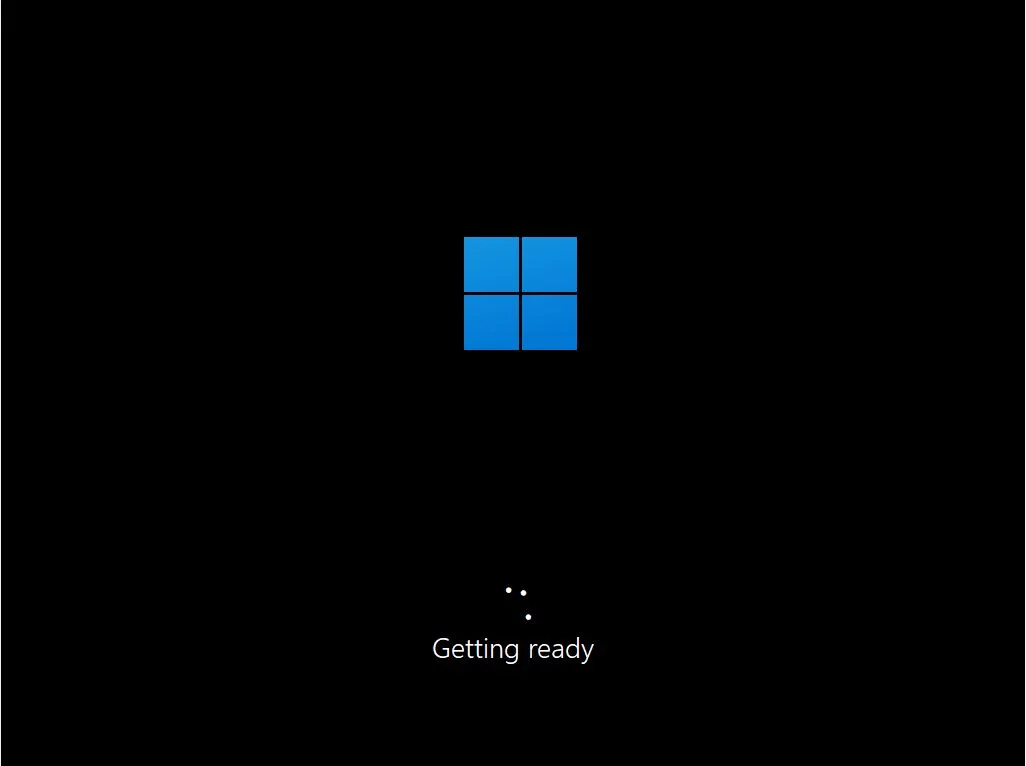
- Click "Next". Windows will start the installation process.
Post-Installation Setup
1. Initial Setup:
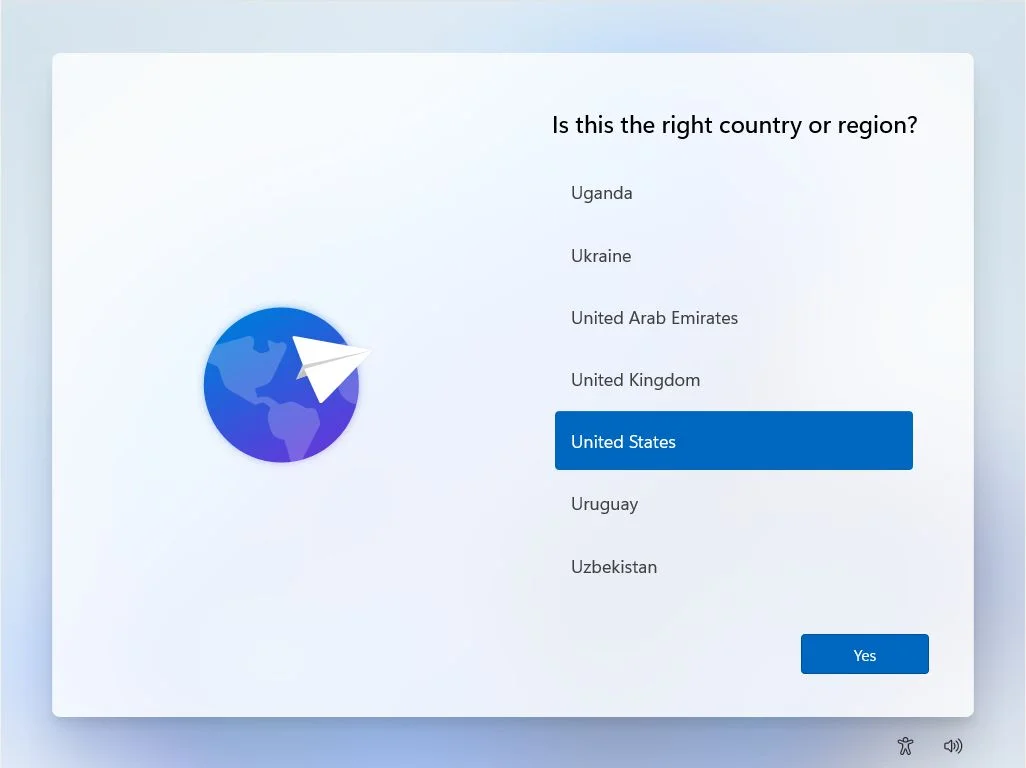
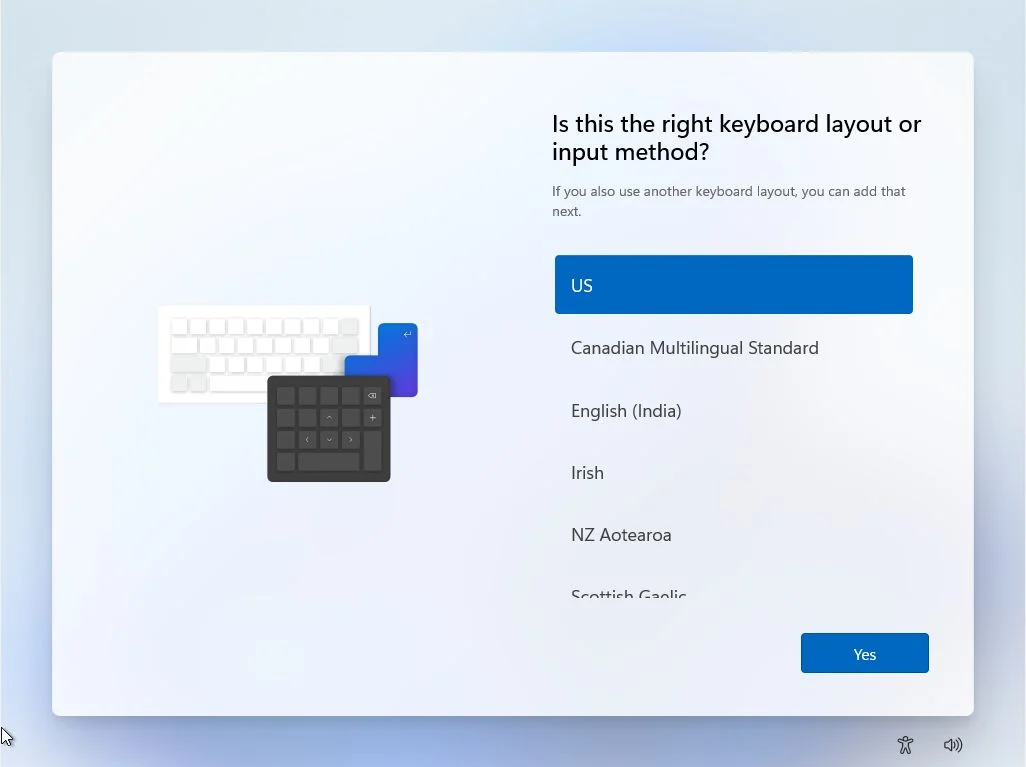
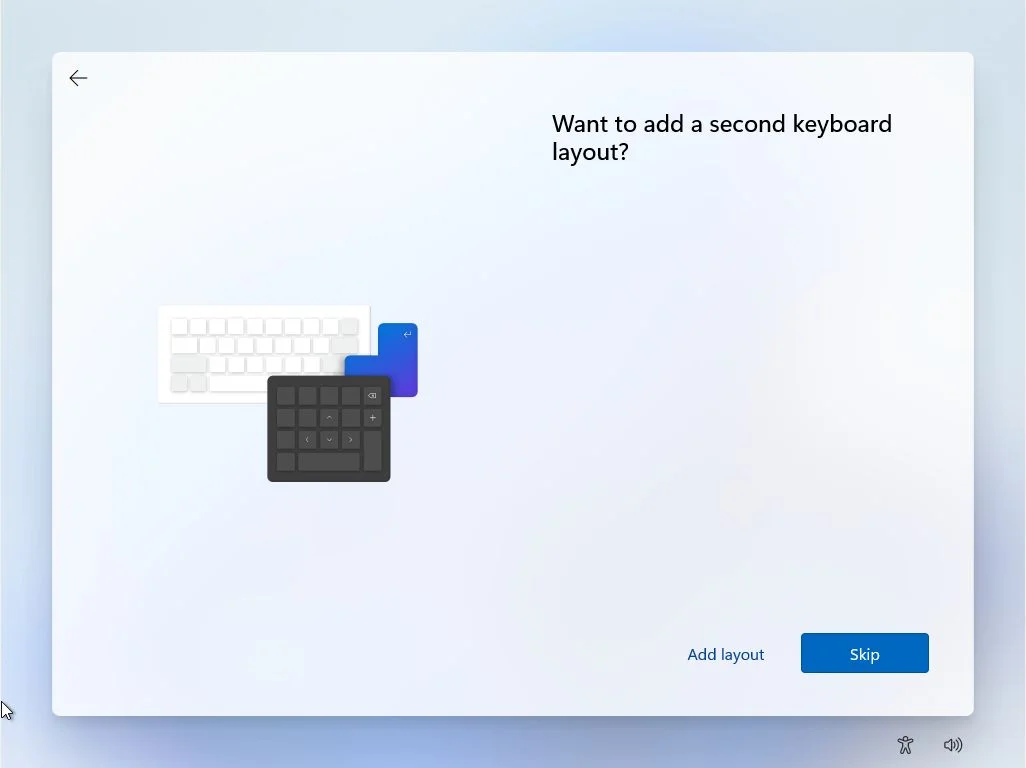
- Follow the on-screen instructions to set up your device, including region, keyboard layout, and network connection.
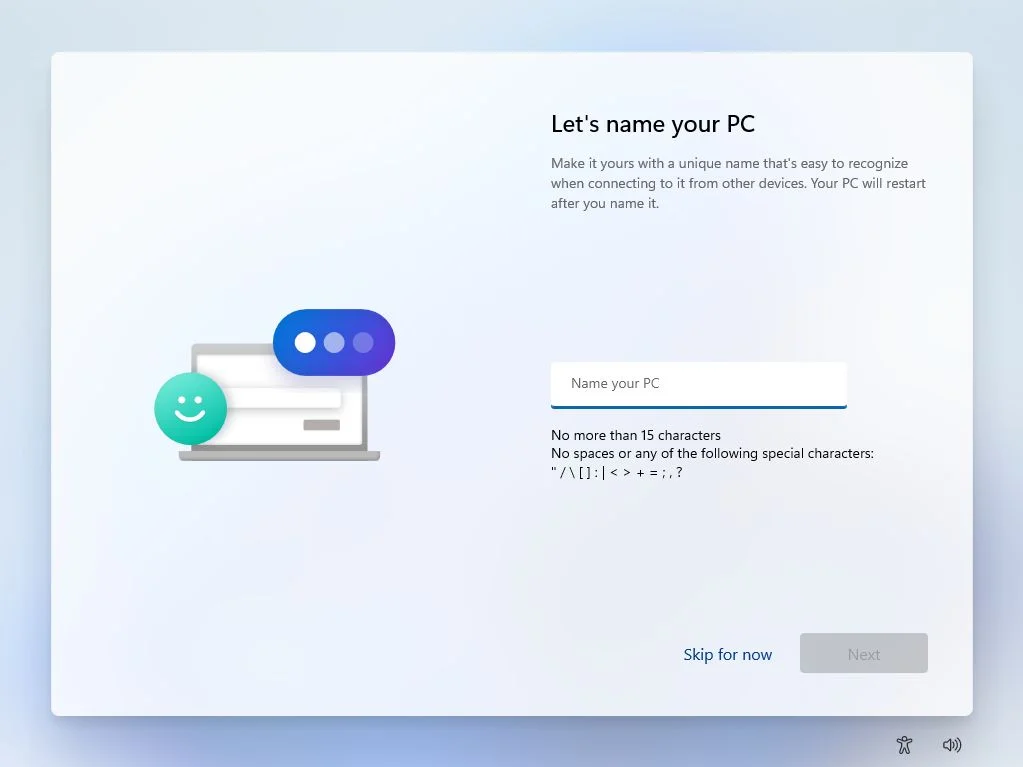
- Pick a name for Your PC! Choose a name that's easy to remember and helps you identify it on a network.
2. Windows Updates:
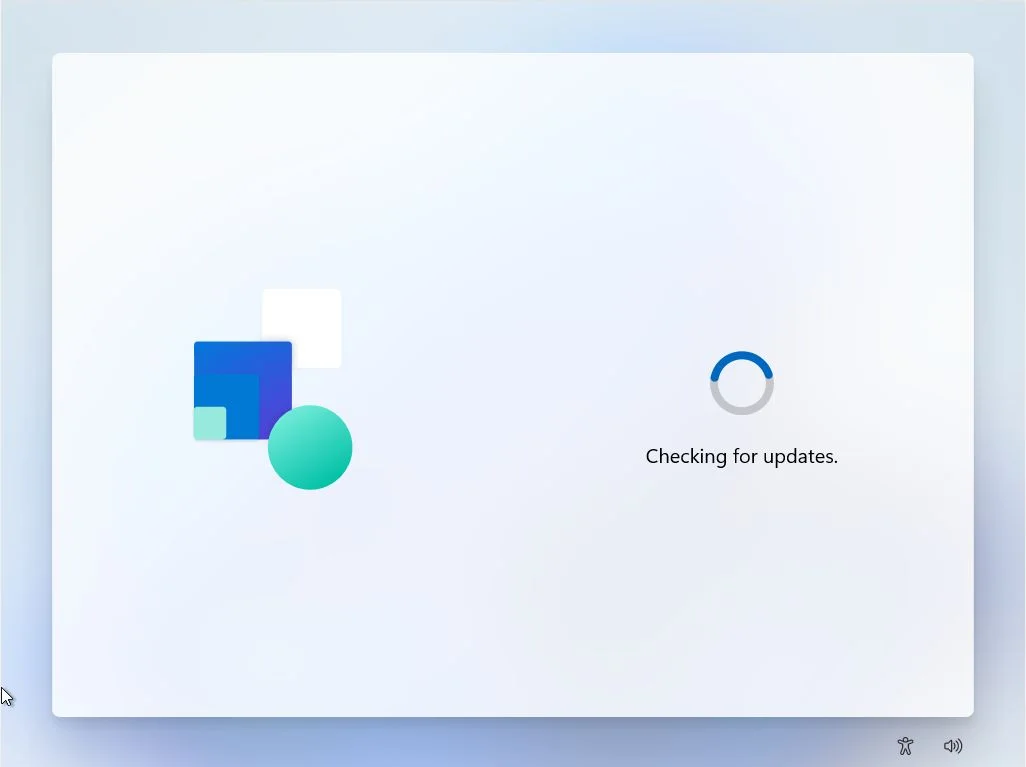
- Ensure your device is connected to the internet and allow Windows to download and install updates.
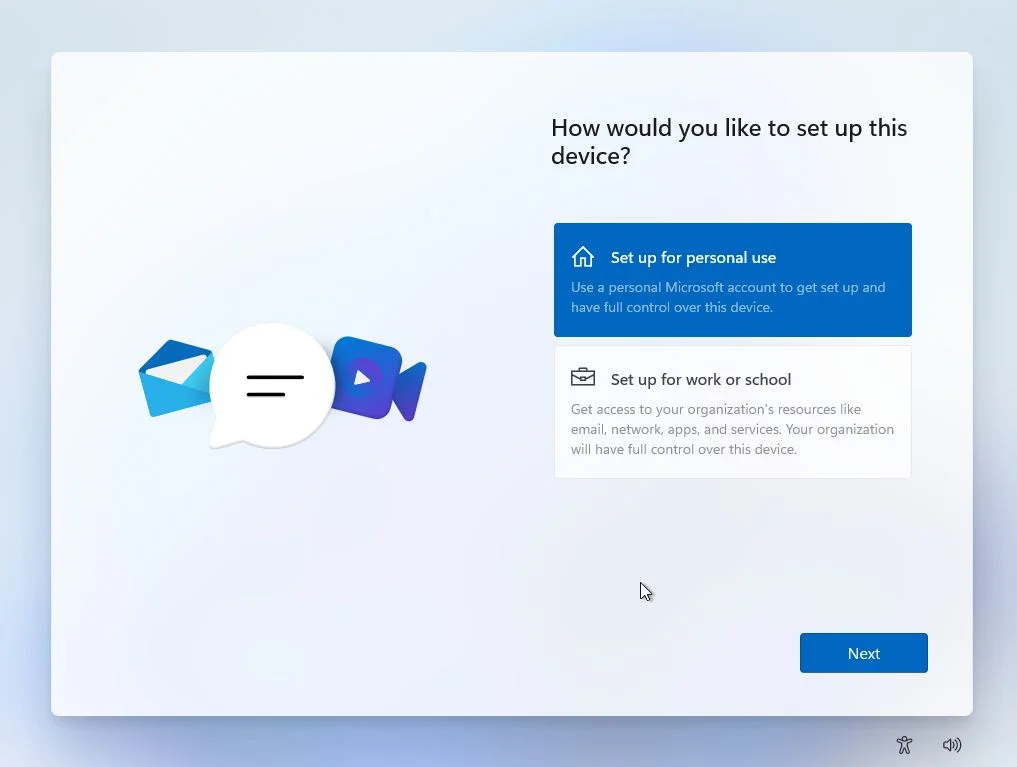
3. How You'll Use Your PC: Personal or Work?
- The next step lets you choose how you plan to use your computer: for personal use or within an organization. If you're setting up a work computer, your system administrator might automatically apply certain settings once you connect to the company network.
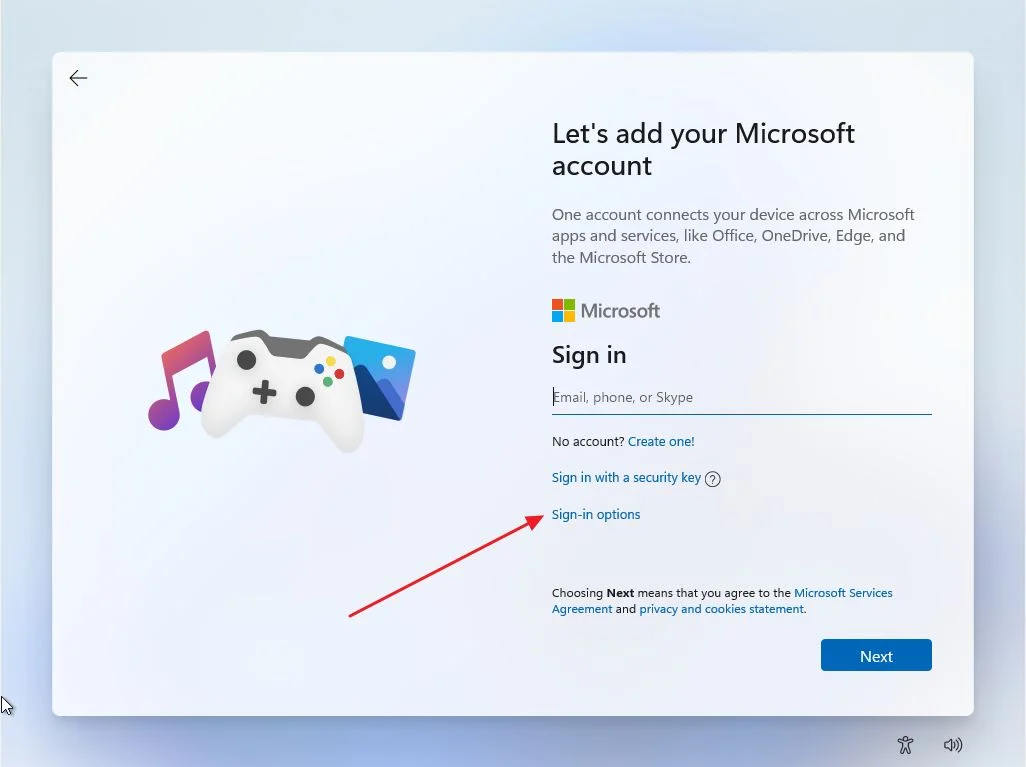
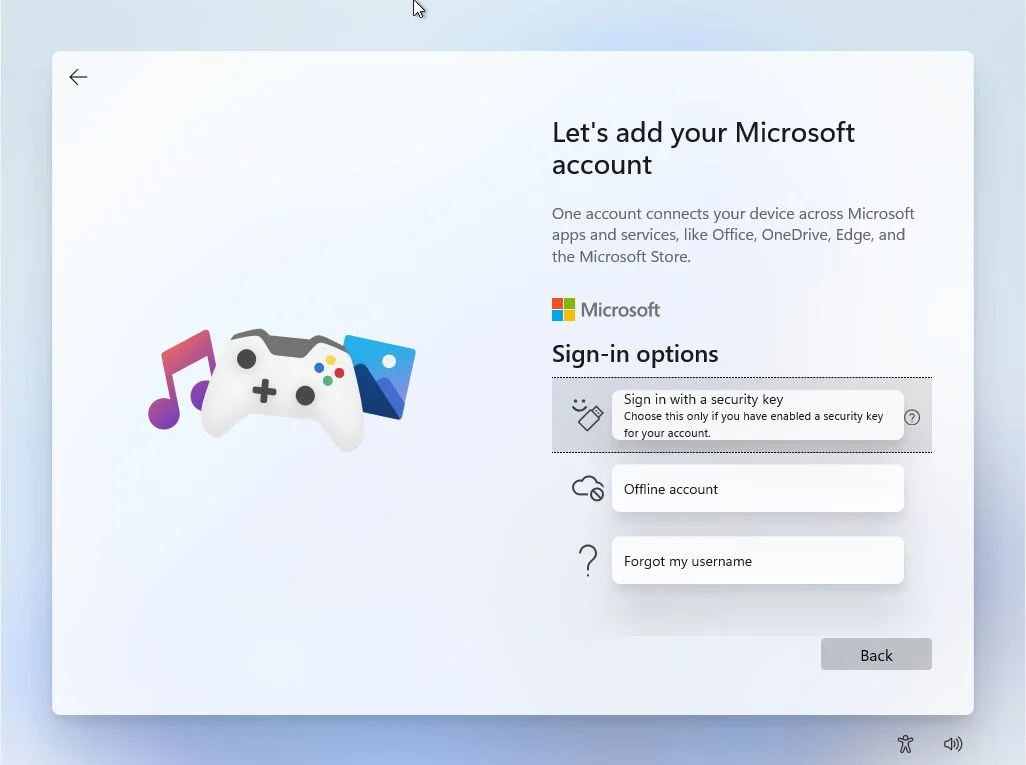
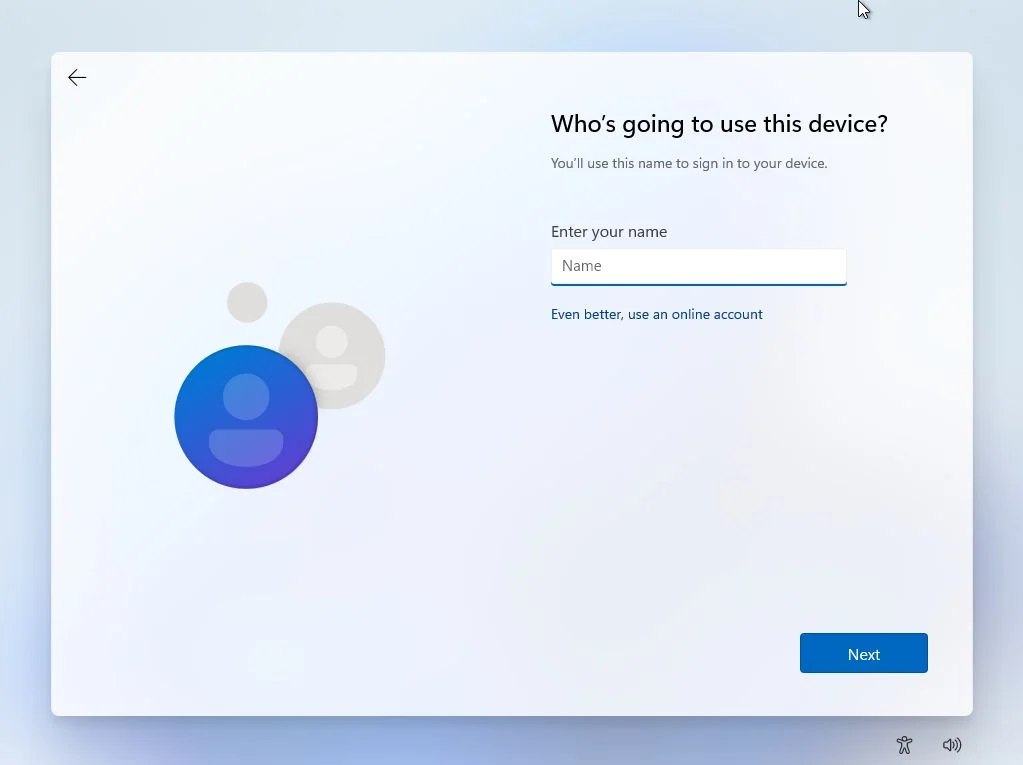
4. Setting Up Your User Account:
- Now comes creating the administrator account, the main user profile with full control over your PC. Microsoft might nudge you to use your Outlook.com account for this, but let's explore your options.
- For enhanced privacy, consider creating a local account. This account exists solely on your device and doesn't require an internet connection. It offers a clear separation between your personal computer and online accounts.
- However, if you prefer the convenience of syncing settings and files across devices, you can choose a Microsoft account (linked to your Outlook.com address). This lets you access features like OneDrive storage and personalized settings across Windows devices.
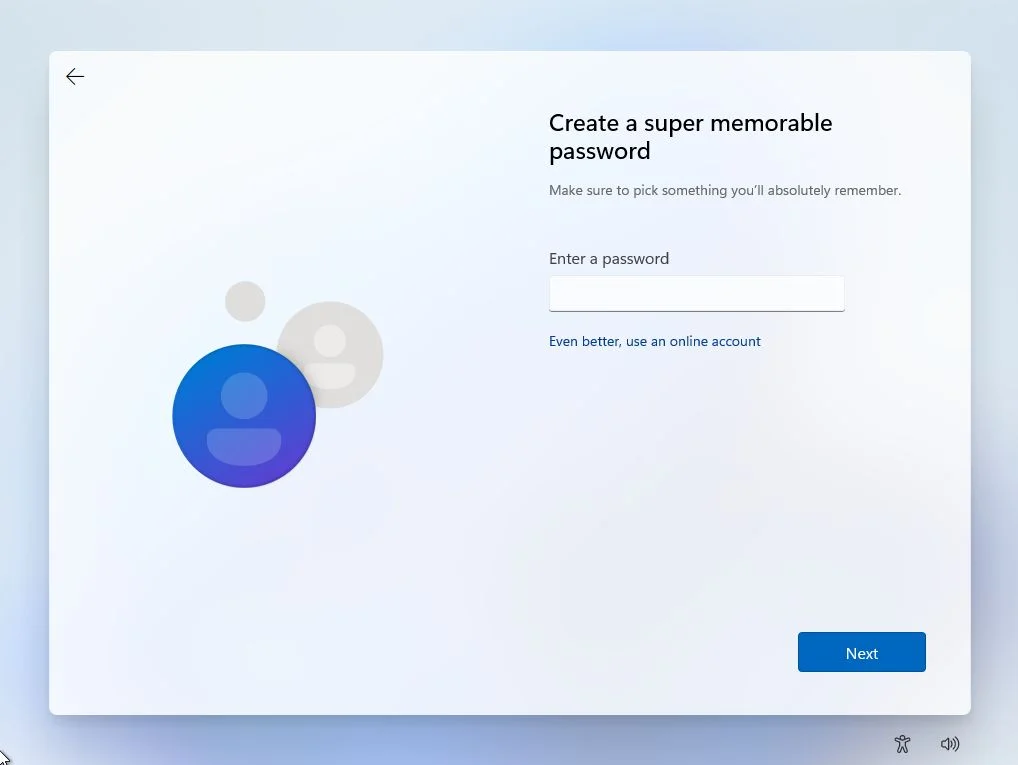
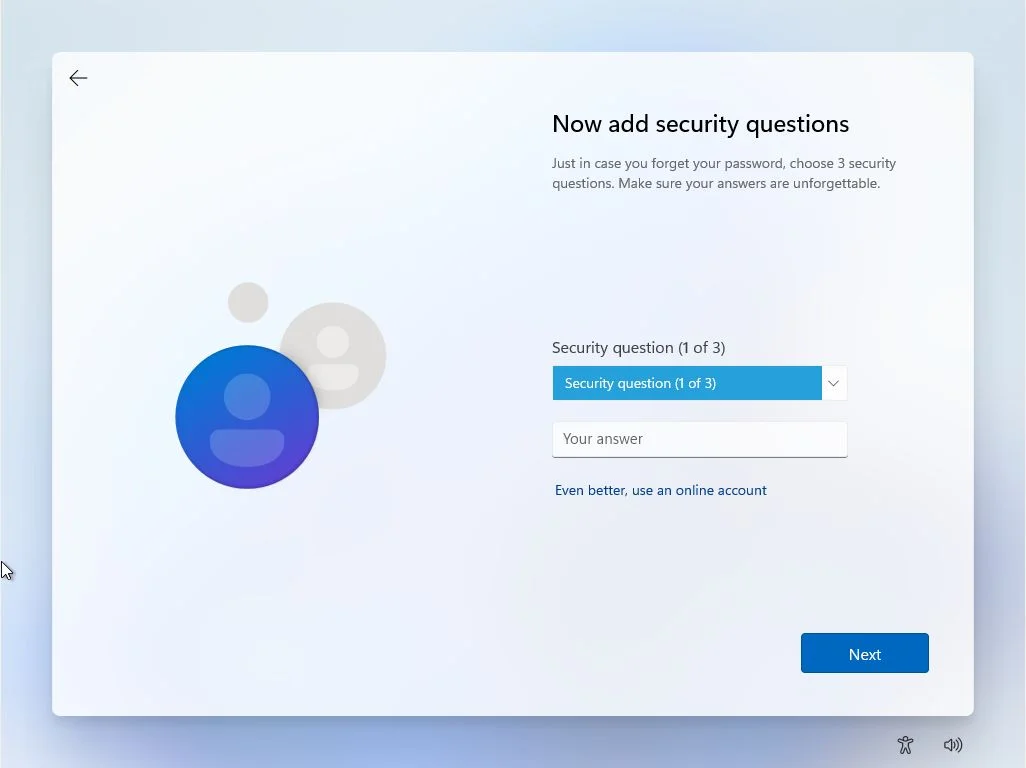
- Securing Your Files with Security Questions. This step might seem tedious, but it's crucial for future you! You'll be asked to set up security questions. These questions and your answers act as a backup plan in case you ever forget your password. By providing correct answers, you can regain access to your files and account.
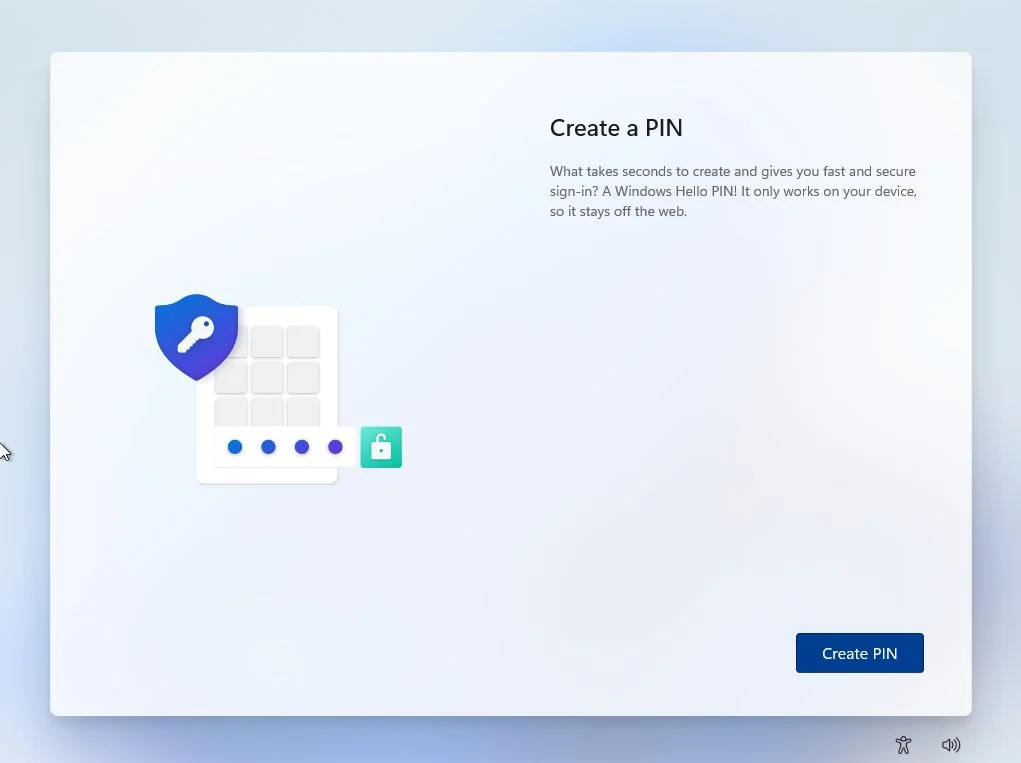
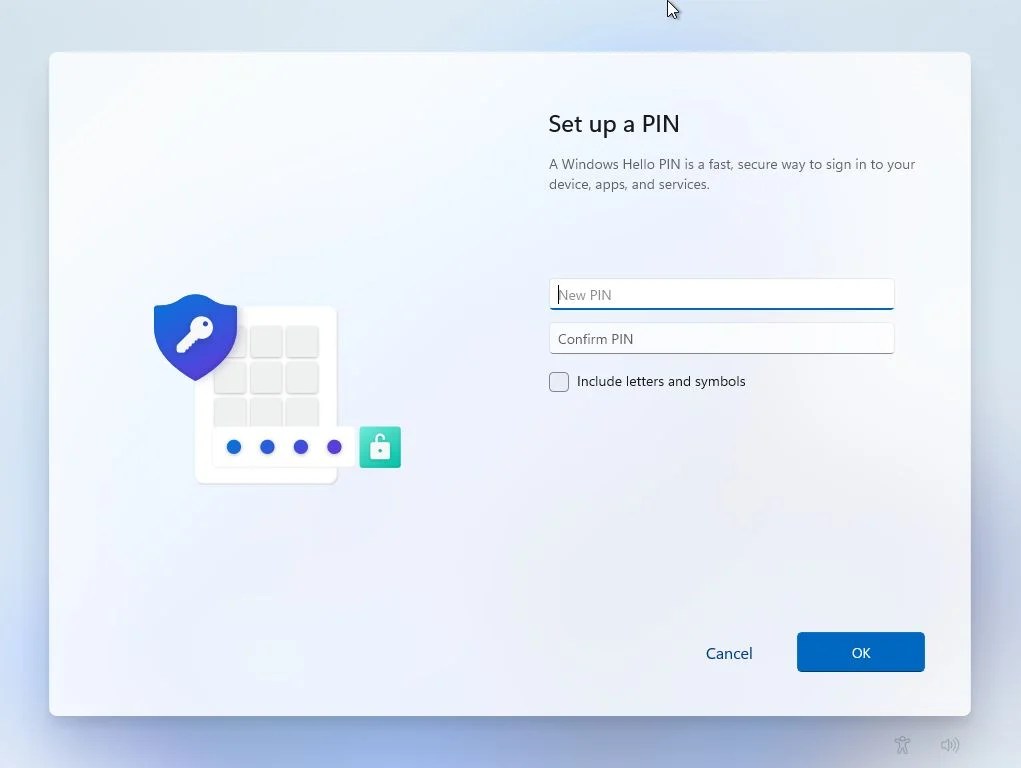
- Create a PIN. Microsoft accounts let you create a PIN for faster login on your computer. While more complex PINs are possible, basic ones (numbers only) are sufficient by default.
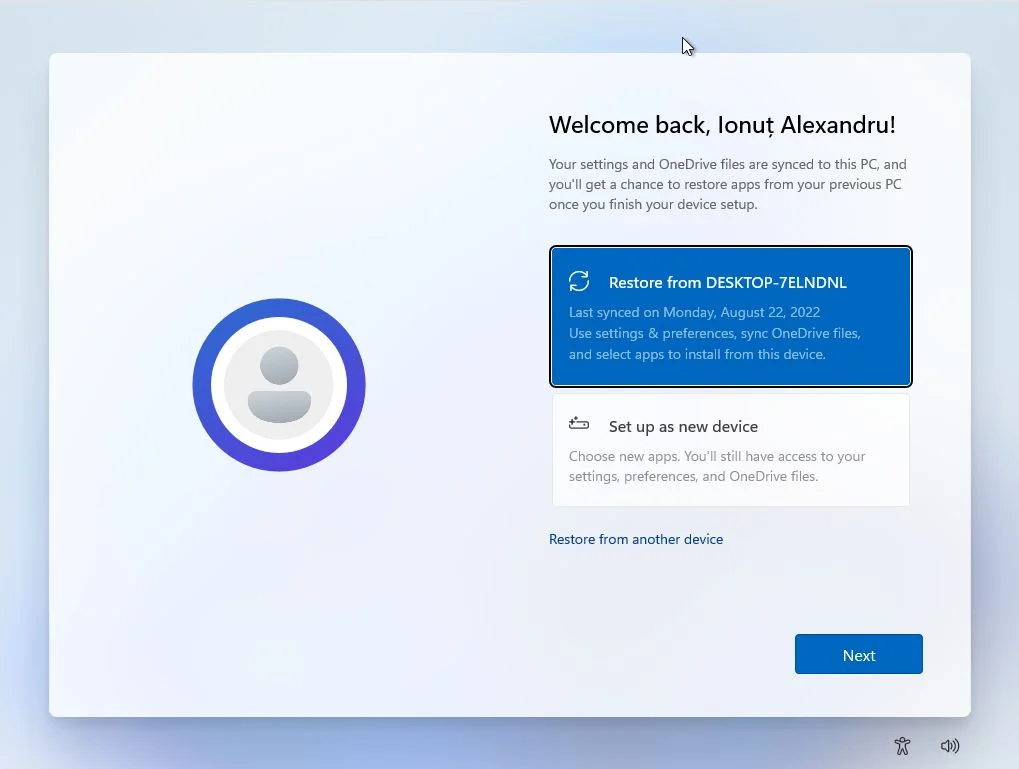
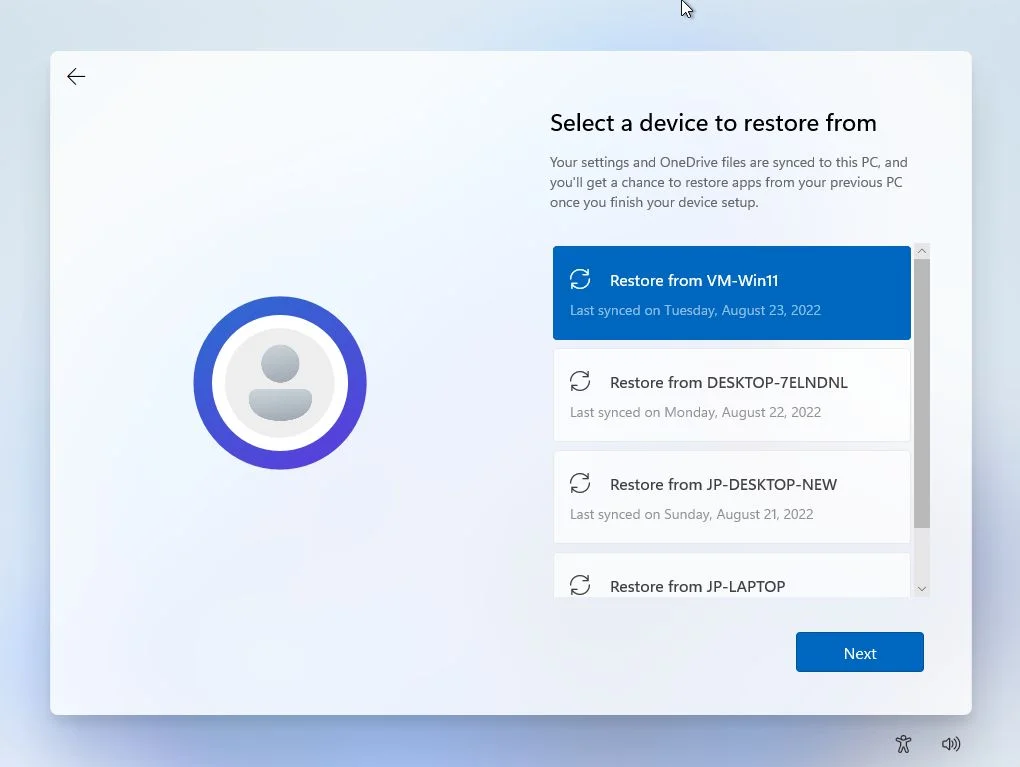
- Set up Device This step caters to users who have previously synced settings across devices with their Microsoft account. You can choose to restore these settings during setup, including options for the current machine (reinstallation) or another device entirely.
For a fresh start, we'll be selecting "Set up as new device" in this guide. This ensures a clean configuration without any potential conflicts from previous settings.
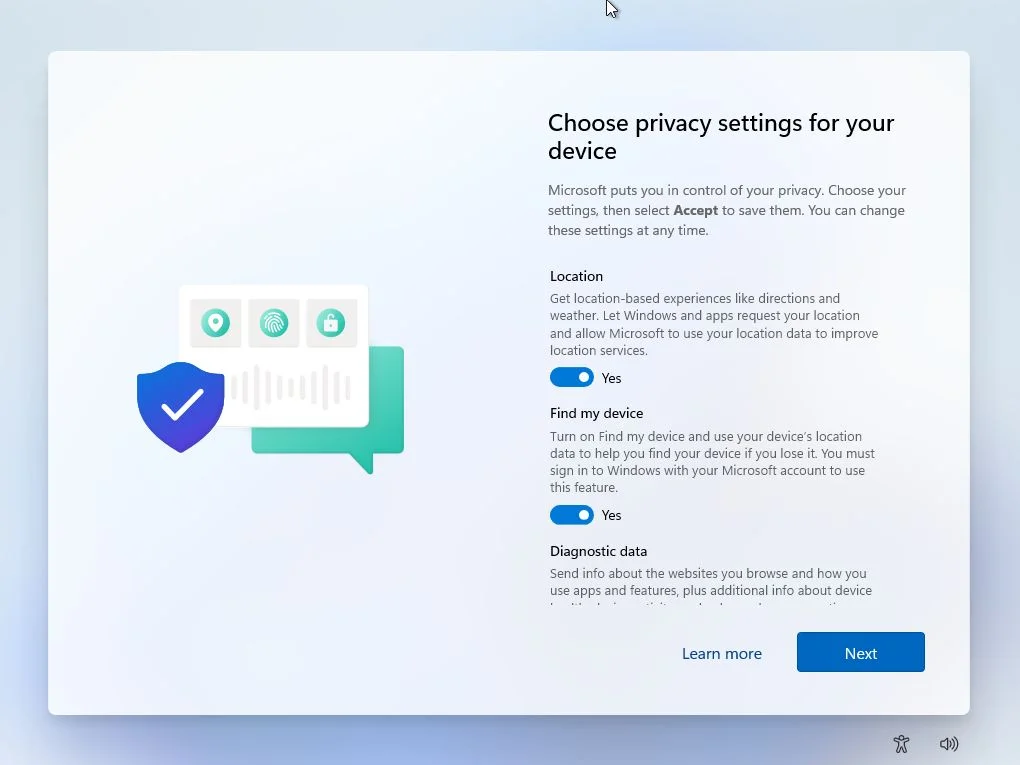
5. Managing Privacy Settings:
- Next, we encounter Windows 11's privacy settings. For this guide, we'll prioritize user privacy by disabling most options that don't directly impact core functionality. It's important to note that some telemetry data transmission might still occur.
- For a more in-depth exploration of maximizing privacy in Windows 11, stay tuned for a future article that dives deeper into advanced privacy control methods.
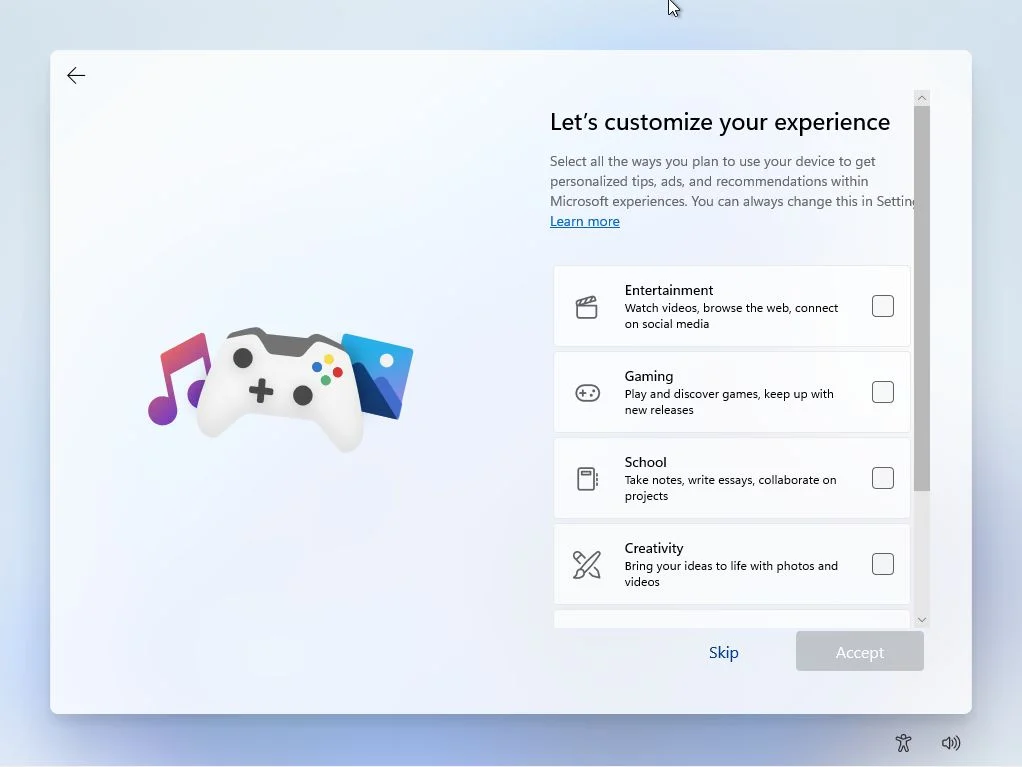
6. Windows 11 or 10 Personalization (Optional):
- A new step in Windows 11 setup lets you choose your primary usage scenario (entertainment, gaming, school, etc.). This selection might influence personalized tips, ads, and recommendations.
- Don't worry if you're unsure – you can simply skip this step. All these options can be customized later within the Settings app under "Personalization > Device Usage." This ensures flexibility in tailoring your Windows experience to your specific needs.
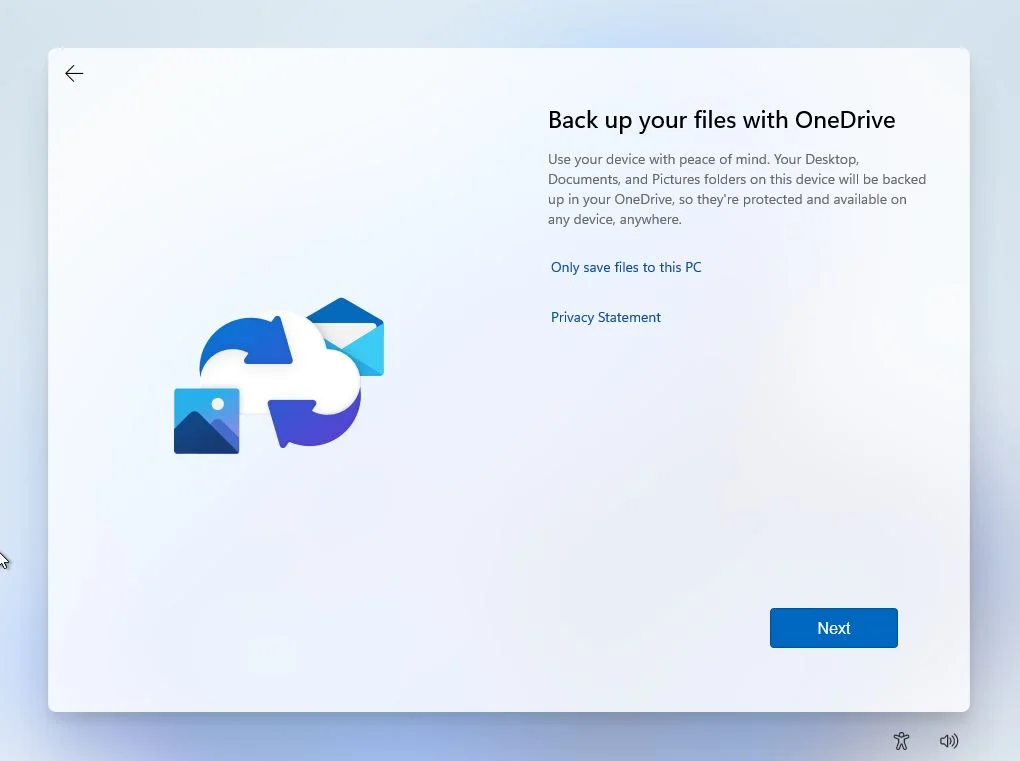
7. OneDrive Backup (Optional):
- Windows 11 offers an optional step to set up automatic backups with OneDrive cloud storage. This integrates with settings synchronization. For users who prefer local storage, simply click "Only save files to this PC" to proceed without enabling OneDrive backup.
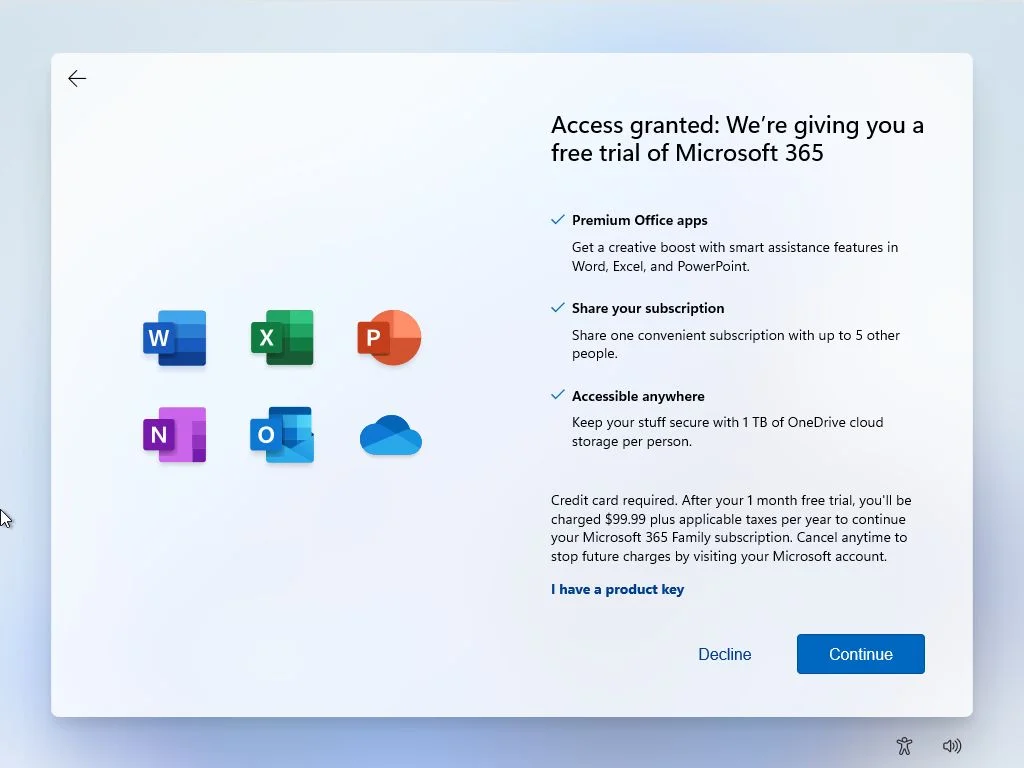
8. Microsoft 365 Family Trial (Optional):
- This step presents a one-month trial offer for Microsoft 365 Family, including access to Office applications and 1TB of OneDrive cloud storage. If you already have a subscription or don't require these services, simply click "Decline" to proceed. Alternatively, if you possess a product key for Microsoft 365, you can choose "I have a product key" to link it to your device.
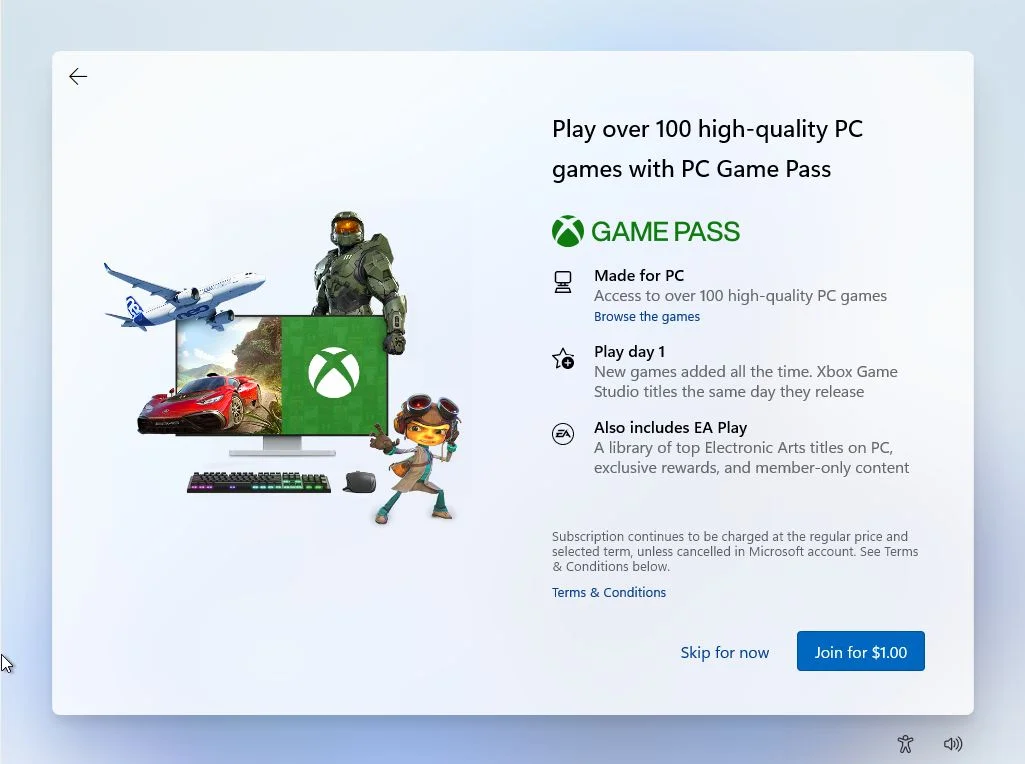
9. Xbox Game Pass Offer (Optional):
- This step showcases a promotional offer for Xbox Game Pass, a subscription service for gamers. If you're an avid gamer, it might be worth considering. However, you can simply click "Skip for now" to continue the setup process.
10. Welcome to Windows 11 or 10!
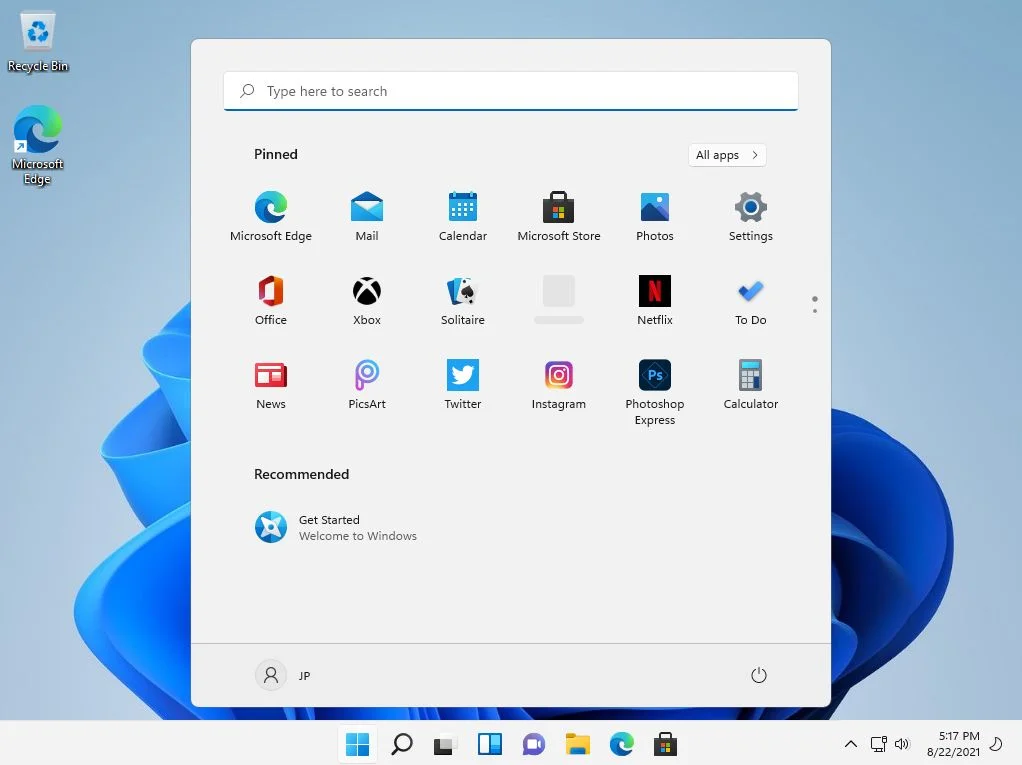
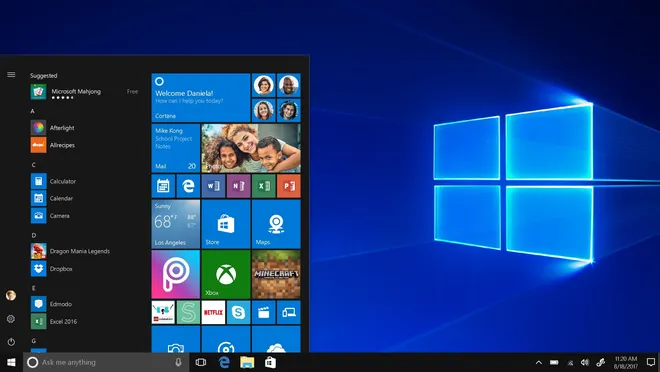
- Following a brief setup process with a few additional screens, you'll be presented with the sleek new Windows 11 desktop for the first time. One thing to note: the centered Start menu is an intentional design choice by Microsoft.

Congratulations! You've successfully completed a clean installation of Windows 11 or 10 on your new computer.
- Following this step-by-step guide has empowered you to set up your device without external assistance.
Conclusion
Installing Windows 10 or Windows 11 from scratch is a straightforward process if you follow these steps carefully. Whether you are installing on a desktop, laptop, or tablet, the procedure remains largely the same. By preparing properly and following this guide, you can ensure a successful installation and enjoy the benefits of a fresh Windows environment.
For further assistance, feel free to reach out to us at Techllective . We are here to help you with all your tech needs!

